
Connect payments
Choose how guests pay you, set your currency, and decide who covers processing fees.
Guest payments go to a Stripe or PayPal account you connect, or through ChipIn Pay, and you need one before you can publish an event. Only an Admin can set this up. It's done once for the organization under Organization > Payments.
Choose how you accept payments
- Your own Stripe account. Connect an existing account or create one. See Connect your Stripe account.
- Your own PayPal account. Connect a PayPal Business account. US dollars only. See Connect your PayPal account.
- ChipIn Pay. ChipIn processes cards for you, no Stripe or PayPal account needed. See ChipIn Pay.
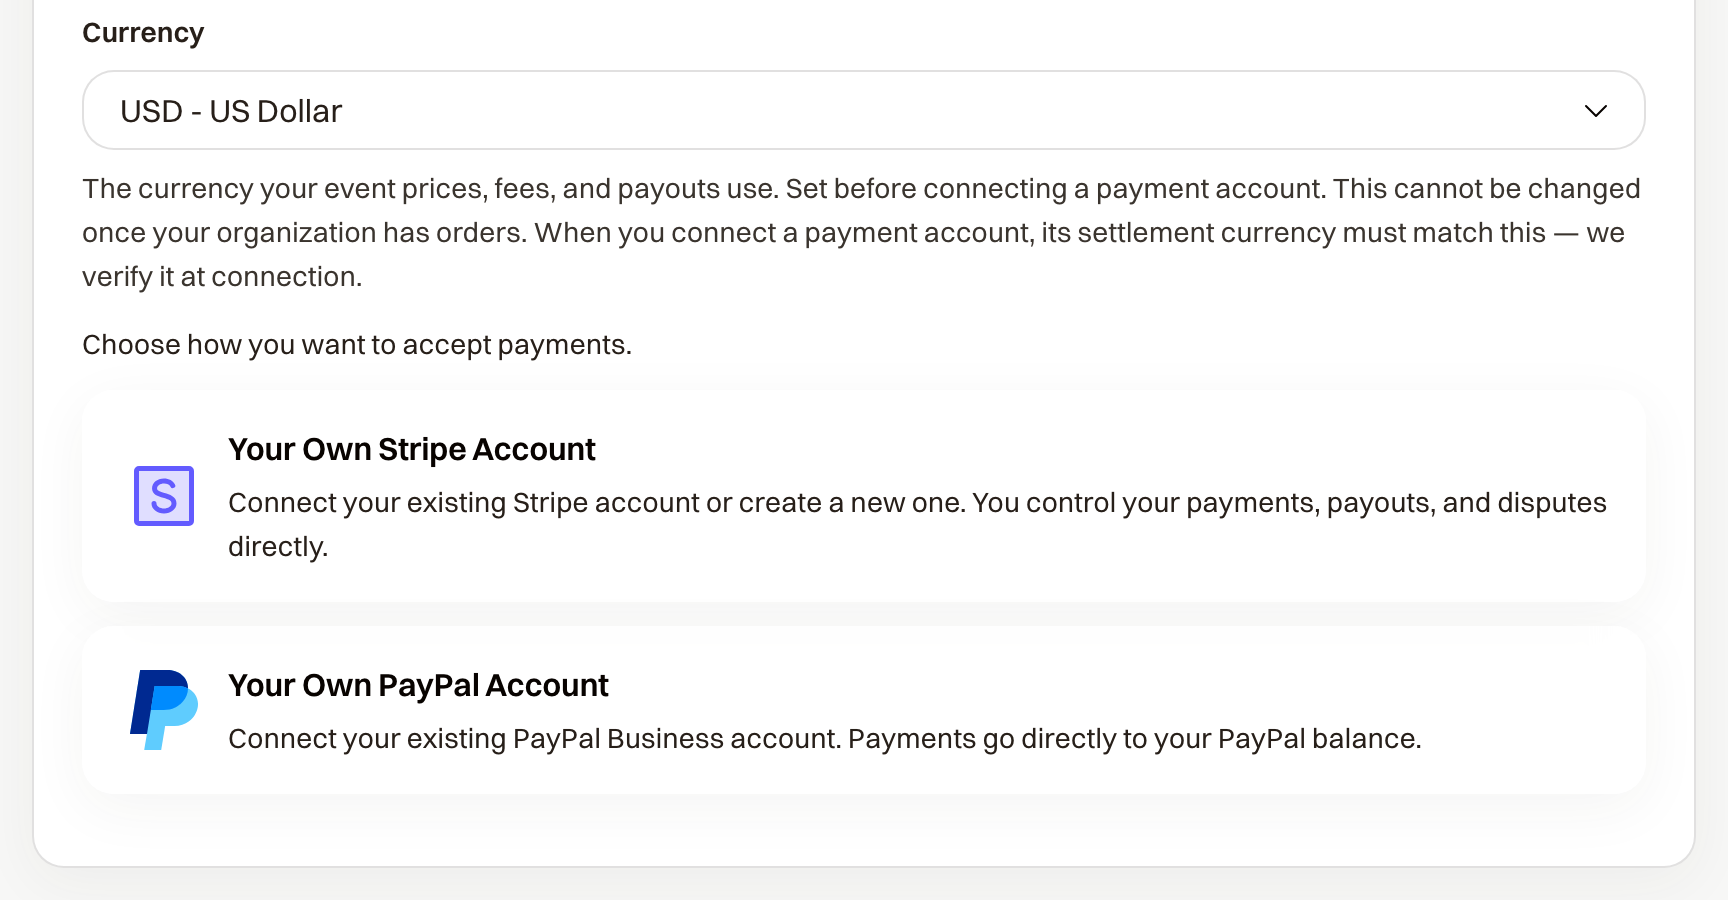
Set your currency first
Currency is the first setting on the Payments page. Choose it before you connect anything. It locks as soon as your organization has its first order, including a practice order, and your payment account must settle in the same currency.
Decide who pays processing fees
Below the processor card is Processing Fees. How each choice looks to a guest is in Processing fees and who pays.
- Organization pays fees. Guests see no fee. Fees come out of your revenue. This is the default.
- Ask purchasers to cover fees. Guests are asked at checkout whether they'll add the fee. They can decline.
- Require purchasers to cover fees. The fee is added to every order.
If you choose either of the last two, set Processing Rate and Processing Fee to match what your processor charges you. ChipIn uses those numbers to calculate the fee shown at checkout.
Let guests pay offline
To also accept checks or cash, turn on Pay Later under Event Settings > Taxes & Policies. It's per event. Guests can confirm a spot without paying online and you collect payment separately. It works alongside your connected account; guests choose at checkout.
Connect your Stripe account
Connect an existing Stripe account or create one, and what the connection states mean.
Connect your PayPal account
Connect a PayPal Business account, and what pending, connected, and revoked look like.
ChipIn Pay
Take cards without setting up Stripe or PayPal. ChipIn processes payments and pays out to your bank.