
Create your organization
Set up the organization that owns your events, choose its URL, and add nonprofit details for receipts.
Your organization is the account your events live under. Create it once; every event you run shares its payments, team, and branding.
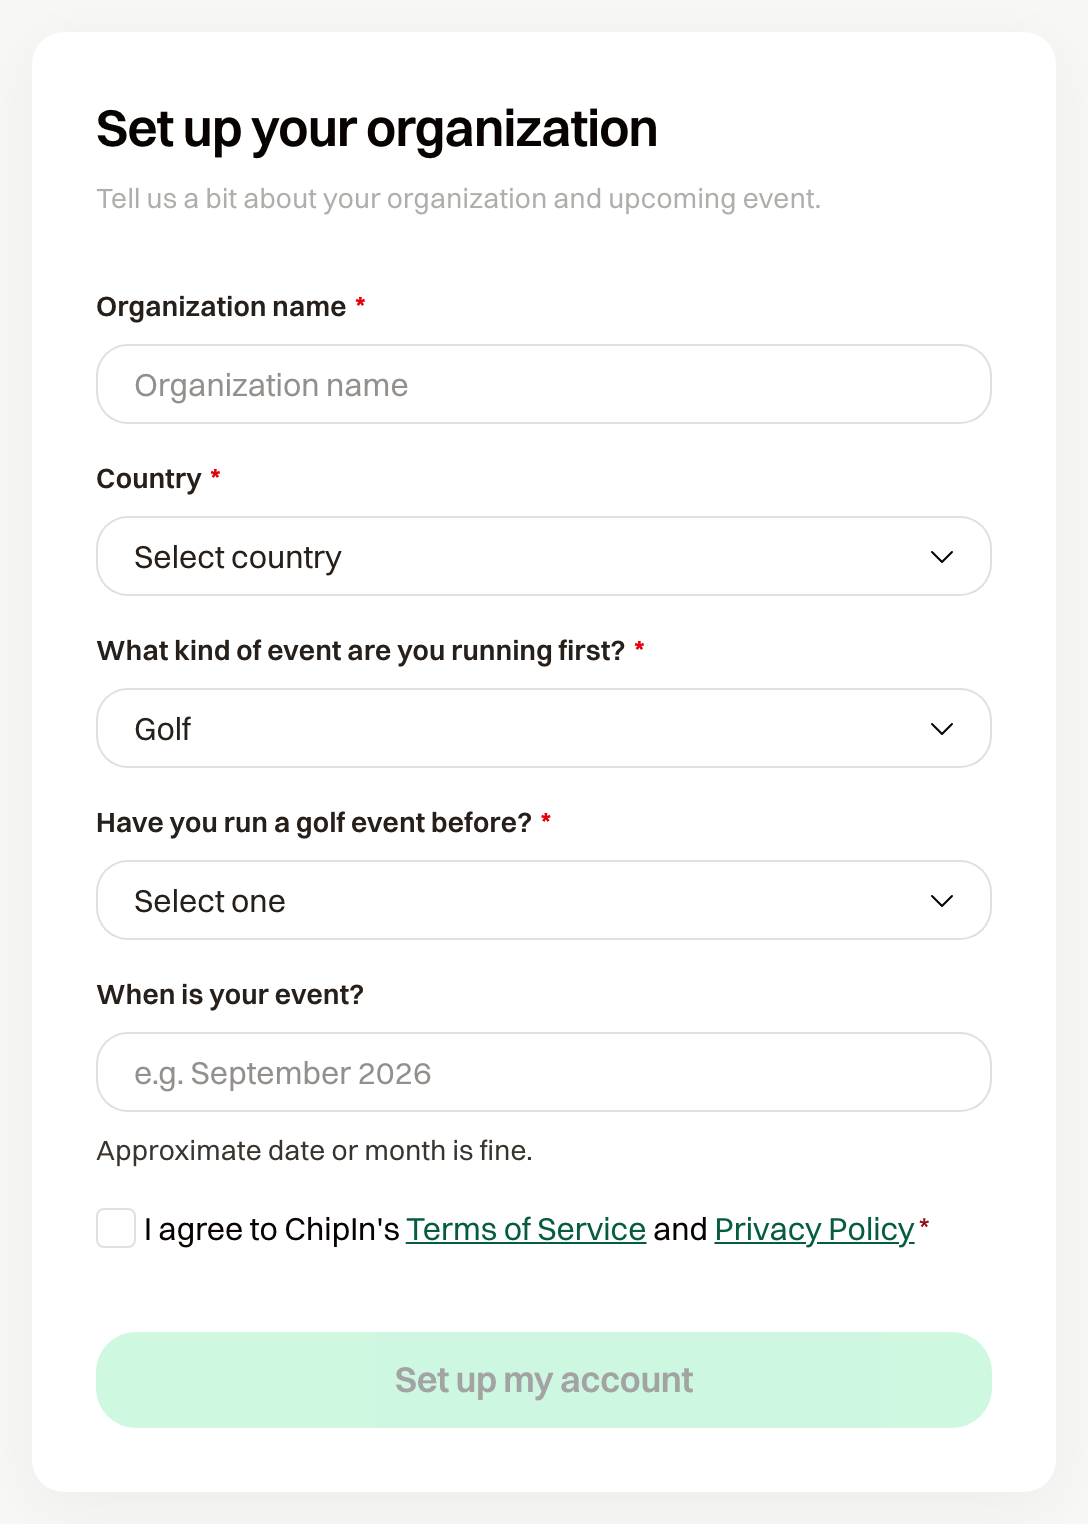
After you create your account, ChipIn opens organization setup.
Change the Organization URL
You can edit it under Organization > Org Details until your first event is published. After that it locks, because printed and emailed links already point at it. Pick carefully before you go live.
Add nonprofit details for receipts
Under Organization > Nonprofit Status, add your organization type, registered name, and tax ID. ChipIn prints these on donation receipts and in the footer of your emails. Leave it blank if you're not a registered nonprofit; receipts still go out without the tax block.
Add your logo
Organization > Org Details. The logo appears on your event websites and in email headers.